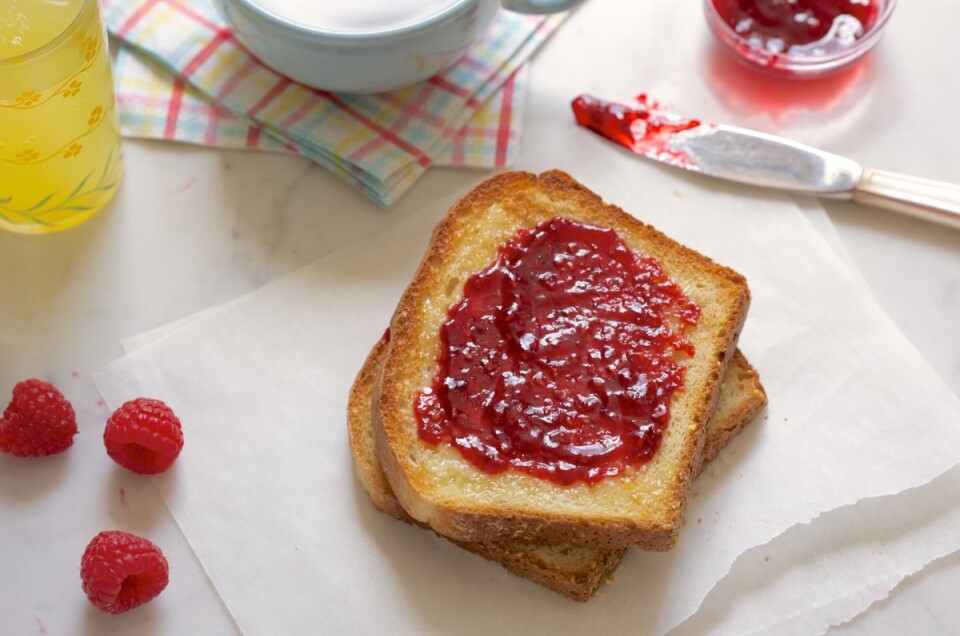
English Muffin Toasting Bread
This is a great recipe that I found on King Arthur Baking. It has become my favorite for my sourdough starter discard!
A new recipe for English Muffin Toasting Bread
- 2 1/4 cups (270g) King Arthur Unbleached All-Purpose Flour
- 1 tablespoon (14g) sugar
- 1 1/2 teaspoons (9g) salt
- 1/2 teaspoon baking powder*
- 2 teaspoons instant yeast
- a generous 3/4 cup (194g) milk, dairy or plant-based
- 2 tablespoons (25g) vegetable oil or olive oil
- 3/4 cup (180g) sourdough starter, unfed (discard)
- cornmeal, to sprinkle in the pan and atop the loaf
Make the (very soft) dough
- Whisk together the flour, sugar, salt, baking powder, and instant yeast in a large mixing bowl, or the bowl of a stand mixer.
- Combine the milk and oil in a separate, microwave-safe bowl (or in a saucepan on the stovetop), and heat to between 120°F and 130°F. Be sure to stir the liquid well before measuring its temperature; you want an accurate reading. If you don’t have a thermometer, the liquid will feel uncomfortably hot if you quickly dip your finger into it. Be sure it doesn’t reach 140°F, as temperatures in that range can harm the yeast.
- Pour the hot liquid over the dry ingredients in the mixing bowl and mix until roughly combined. Stir in the discard starter.
- Using an electric beater, or stand mixer with flat beater attachment, beat at high speed for 1 minute; the dough will be smooth and very soft — almost a thick batter rather than dough.
- If you don’t have an electric mixer, beat by hand for 2 to 3 minutes, or until the dough is smooth and starting to become elastic.
Choose your pan
- Lightly grease a standard loaf pan (8 1/2″ x 4 1/2″ x 2 3/4″) and sprinkle the bottom and sides with cornmeal.
- To tell the truth, I’ve forsaken my standard loaf pan in favor of a taller 9” x 4” x 4” pan; I like the side support it offers rising and baking bread, as well as the straight-sided (rather than mushroom-cap) loaf it produces. But your standard pan will work fine. And if all you have is a quick bread pan (9” x 5”), use it: your bread will simply be wider and shorter.
Let the dough rise
- Scoop the soft dough into the pan, leveling the surface as much as possible. Sprinkle some cornmeal on top, if you like, for more crunch in the crust.
- Cover the pan, and let the dough rise for about an hour. For a standard loaf pan, you want it to just barely crown over the rim of the pan. When you look at the rim from eye level, you should see the dough but it shouldn’t be more than, say, 1/4″ above the rim.
- If you’re using a 9″ x 4″ x 4″ pan, you want the dough to double in size. You can eyeball doubling, sure; but for any of you out there more comfortable with precision, try this: Carefully slide a toothpick between dough and pan, note where the dough reaches on the pick, then withdraw the pick and use it to measure how tall the dough is before its rise. Double that number, mark it on the pick, and replace the pick.
- When the dough hits the mark on the toothpick, it’s doubled. (And no, the rising dough didn’t totally carry the toothpick with it! The pick only rose about 1/16″.) While the dough is rising, preheat the oven to 400°F.
Bake the bread
- Bake the risen bread for 22 to 27 minutes, until it’s golden brown and its interior temperature is 190°F.
- Remove the bread from the oven, and after 5 minutes turn it out of the pan onto a rack to cool. Let the bread cool completely before slicing.